Admin · ~5 min
Getting started (shop owner or HR)
First day on Faciro: sign in, add people, and approve leave. You can connect a clock later.
Step 1
Sign in
Open www.faciro.com → Log in. Use the email or phone and password you were given. If Faciro asks you to choose a new password, do that first.
Step 2
Check Company settings
Go to Settings. Confirm working days look right for your shop. You do not need a clock for leave to work.
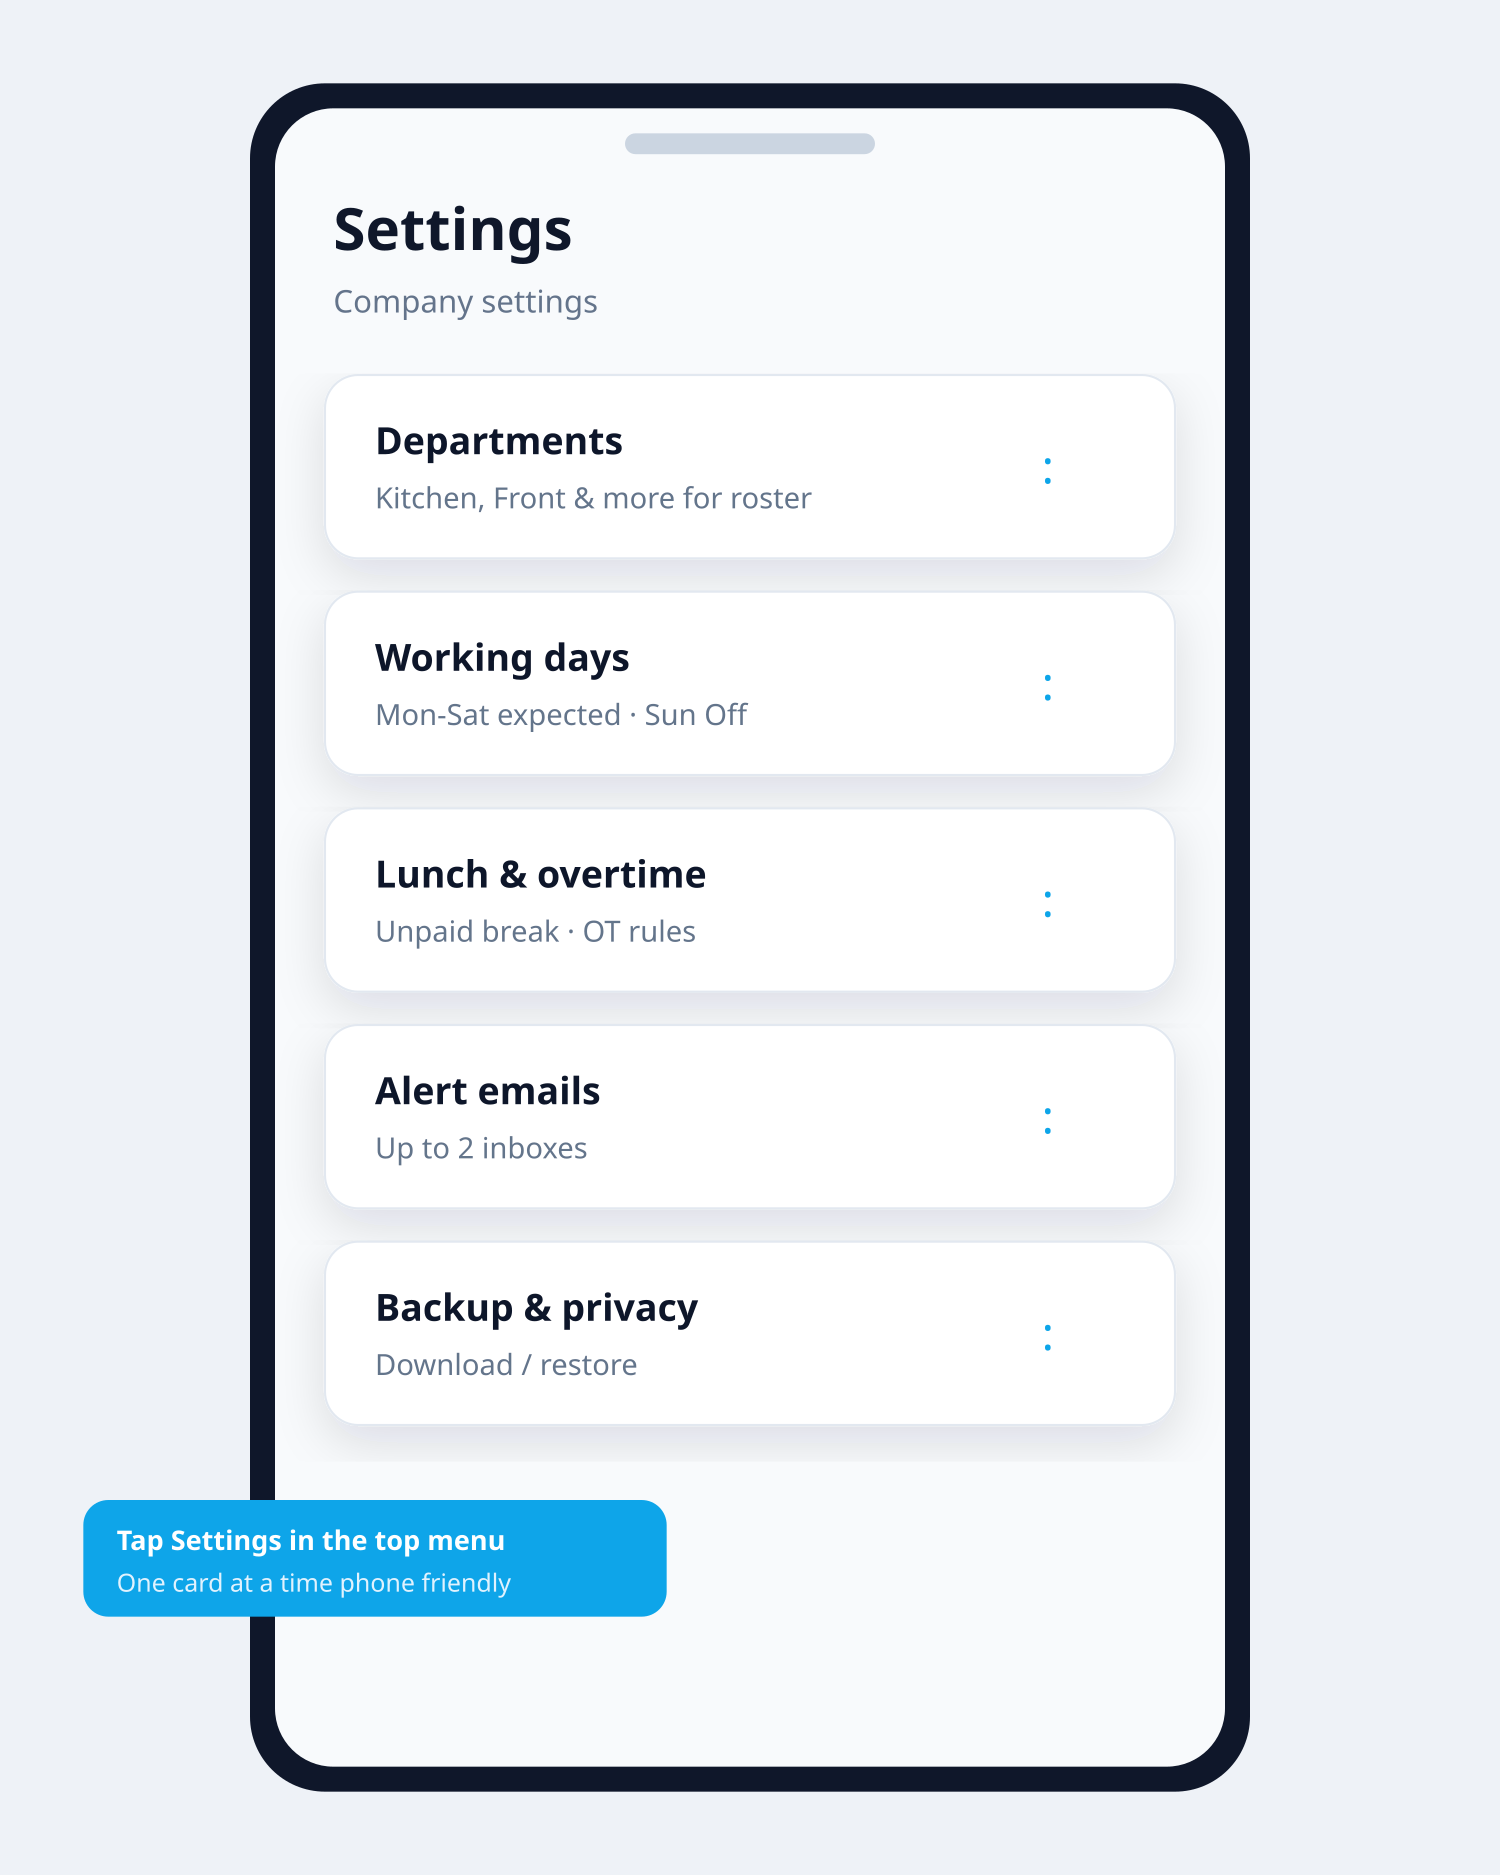
Settings — tap one card at a time Step 3
Add your people
Open People. Add each staff member with a temporary password. Give them the password so they can sign in. Assign a manager if you have one — or you can approve leave yourself.
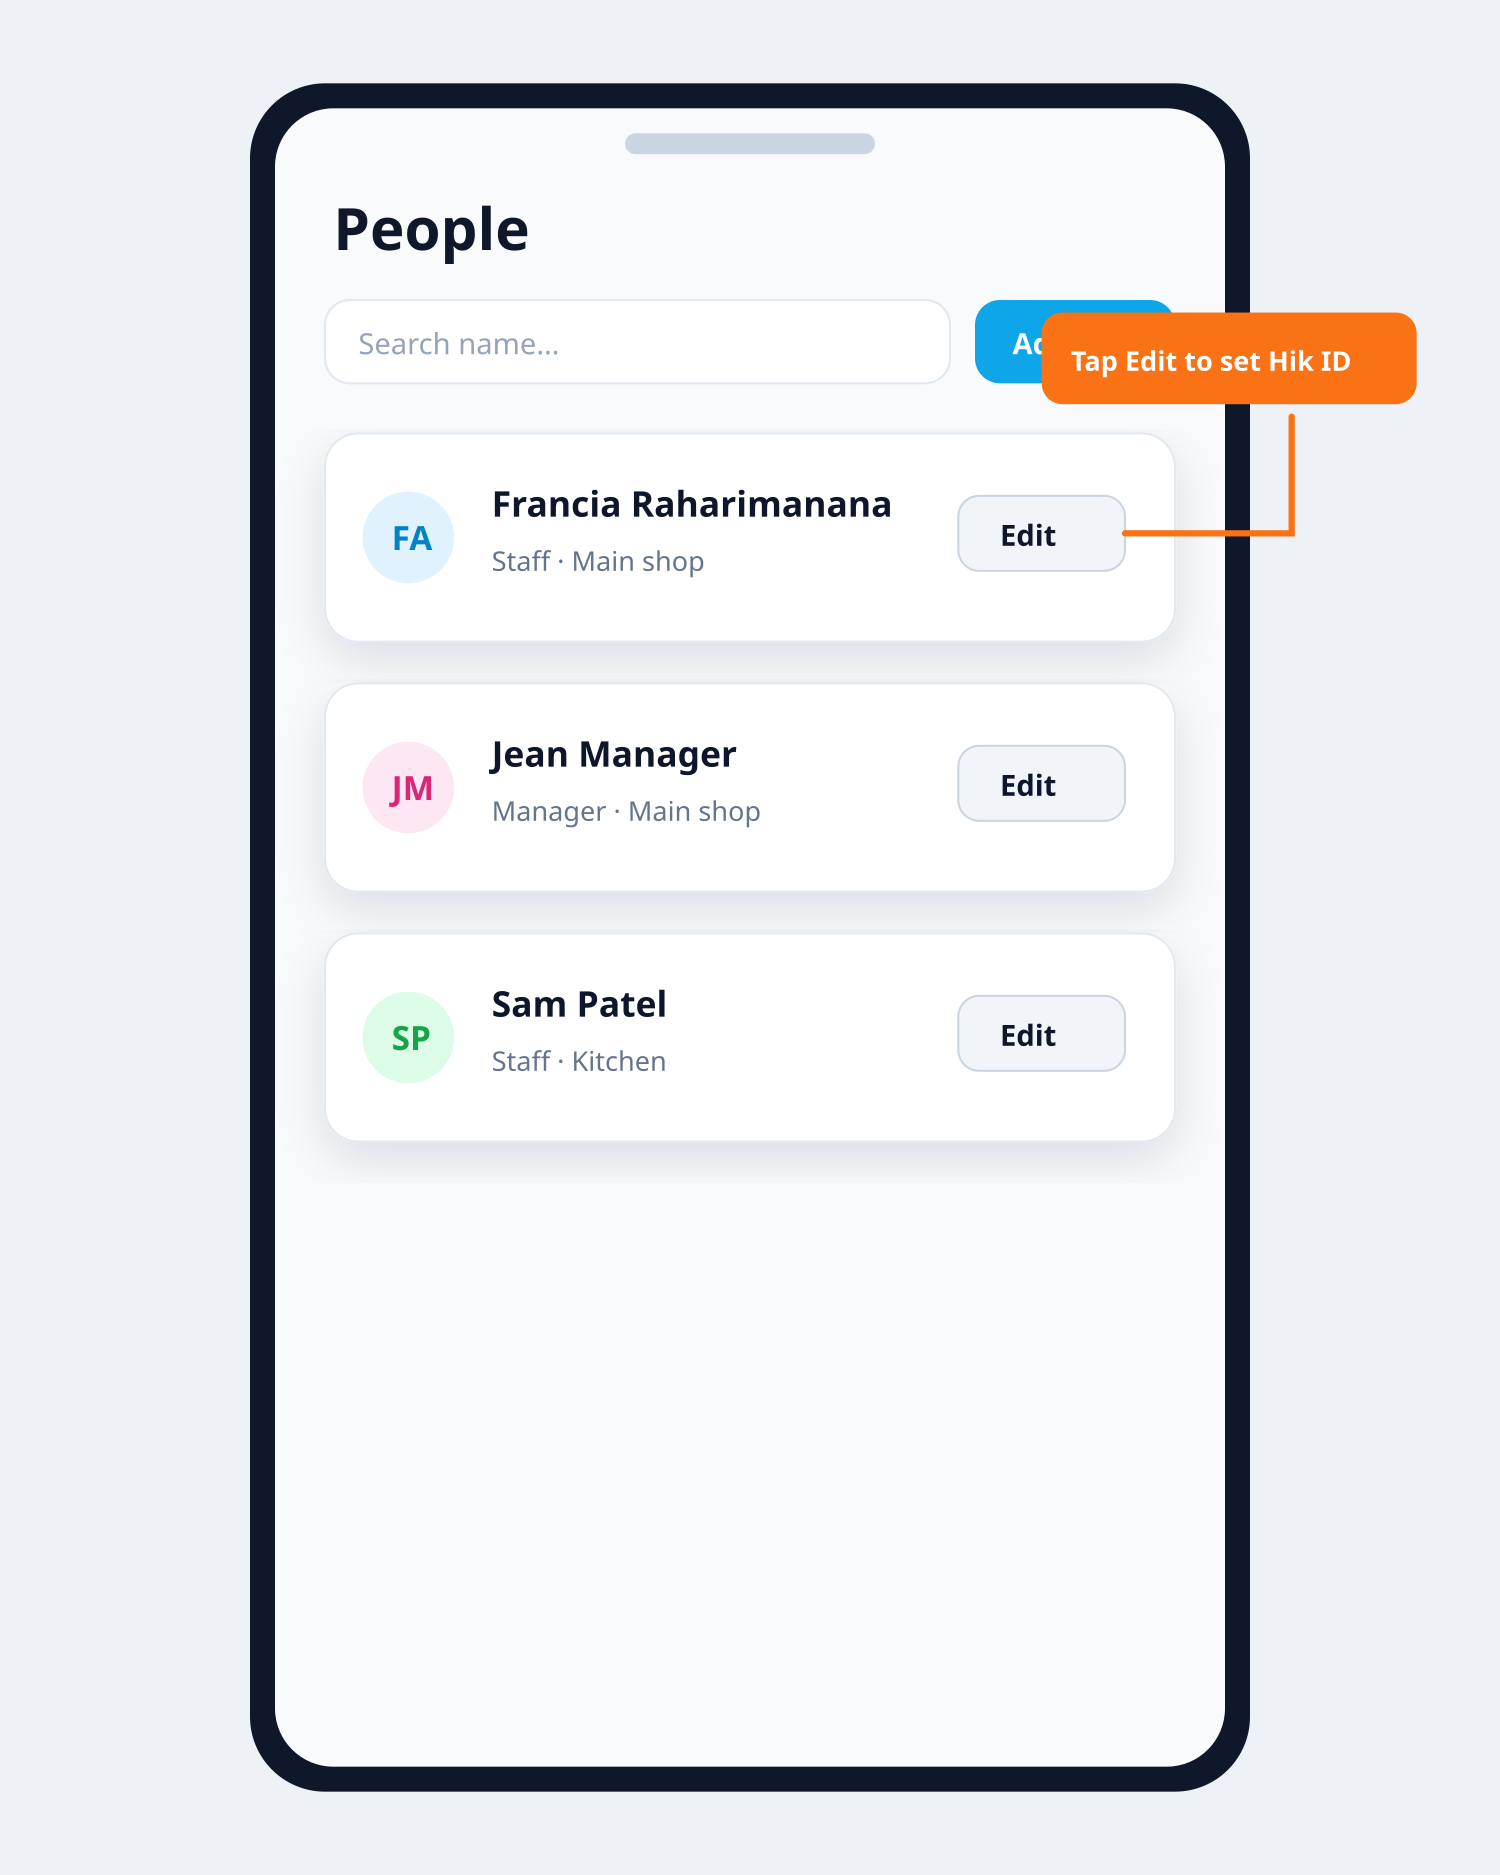
People list — use Edit after you add someone Step 4
Approve leave
Open Leave. Approve or reject pending requests. Sick leave often auto-records — you still see it for information.
Step 5
Optional next steps
When ready: set Hik-Connect ID on each person (same as the machine), connect the clock under People → Branches, publish a roster, and download a Payroll Summary for payday (not a payslip).
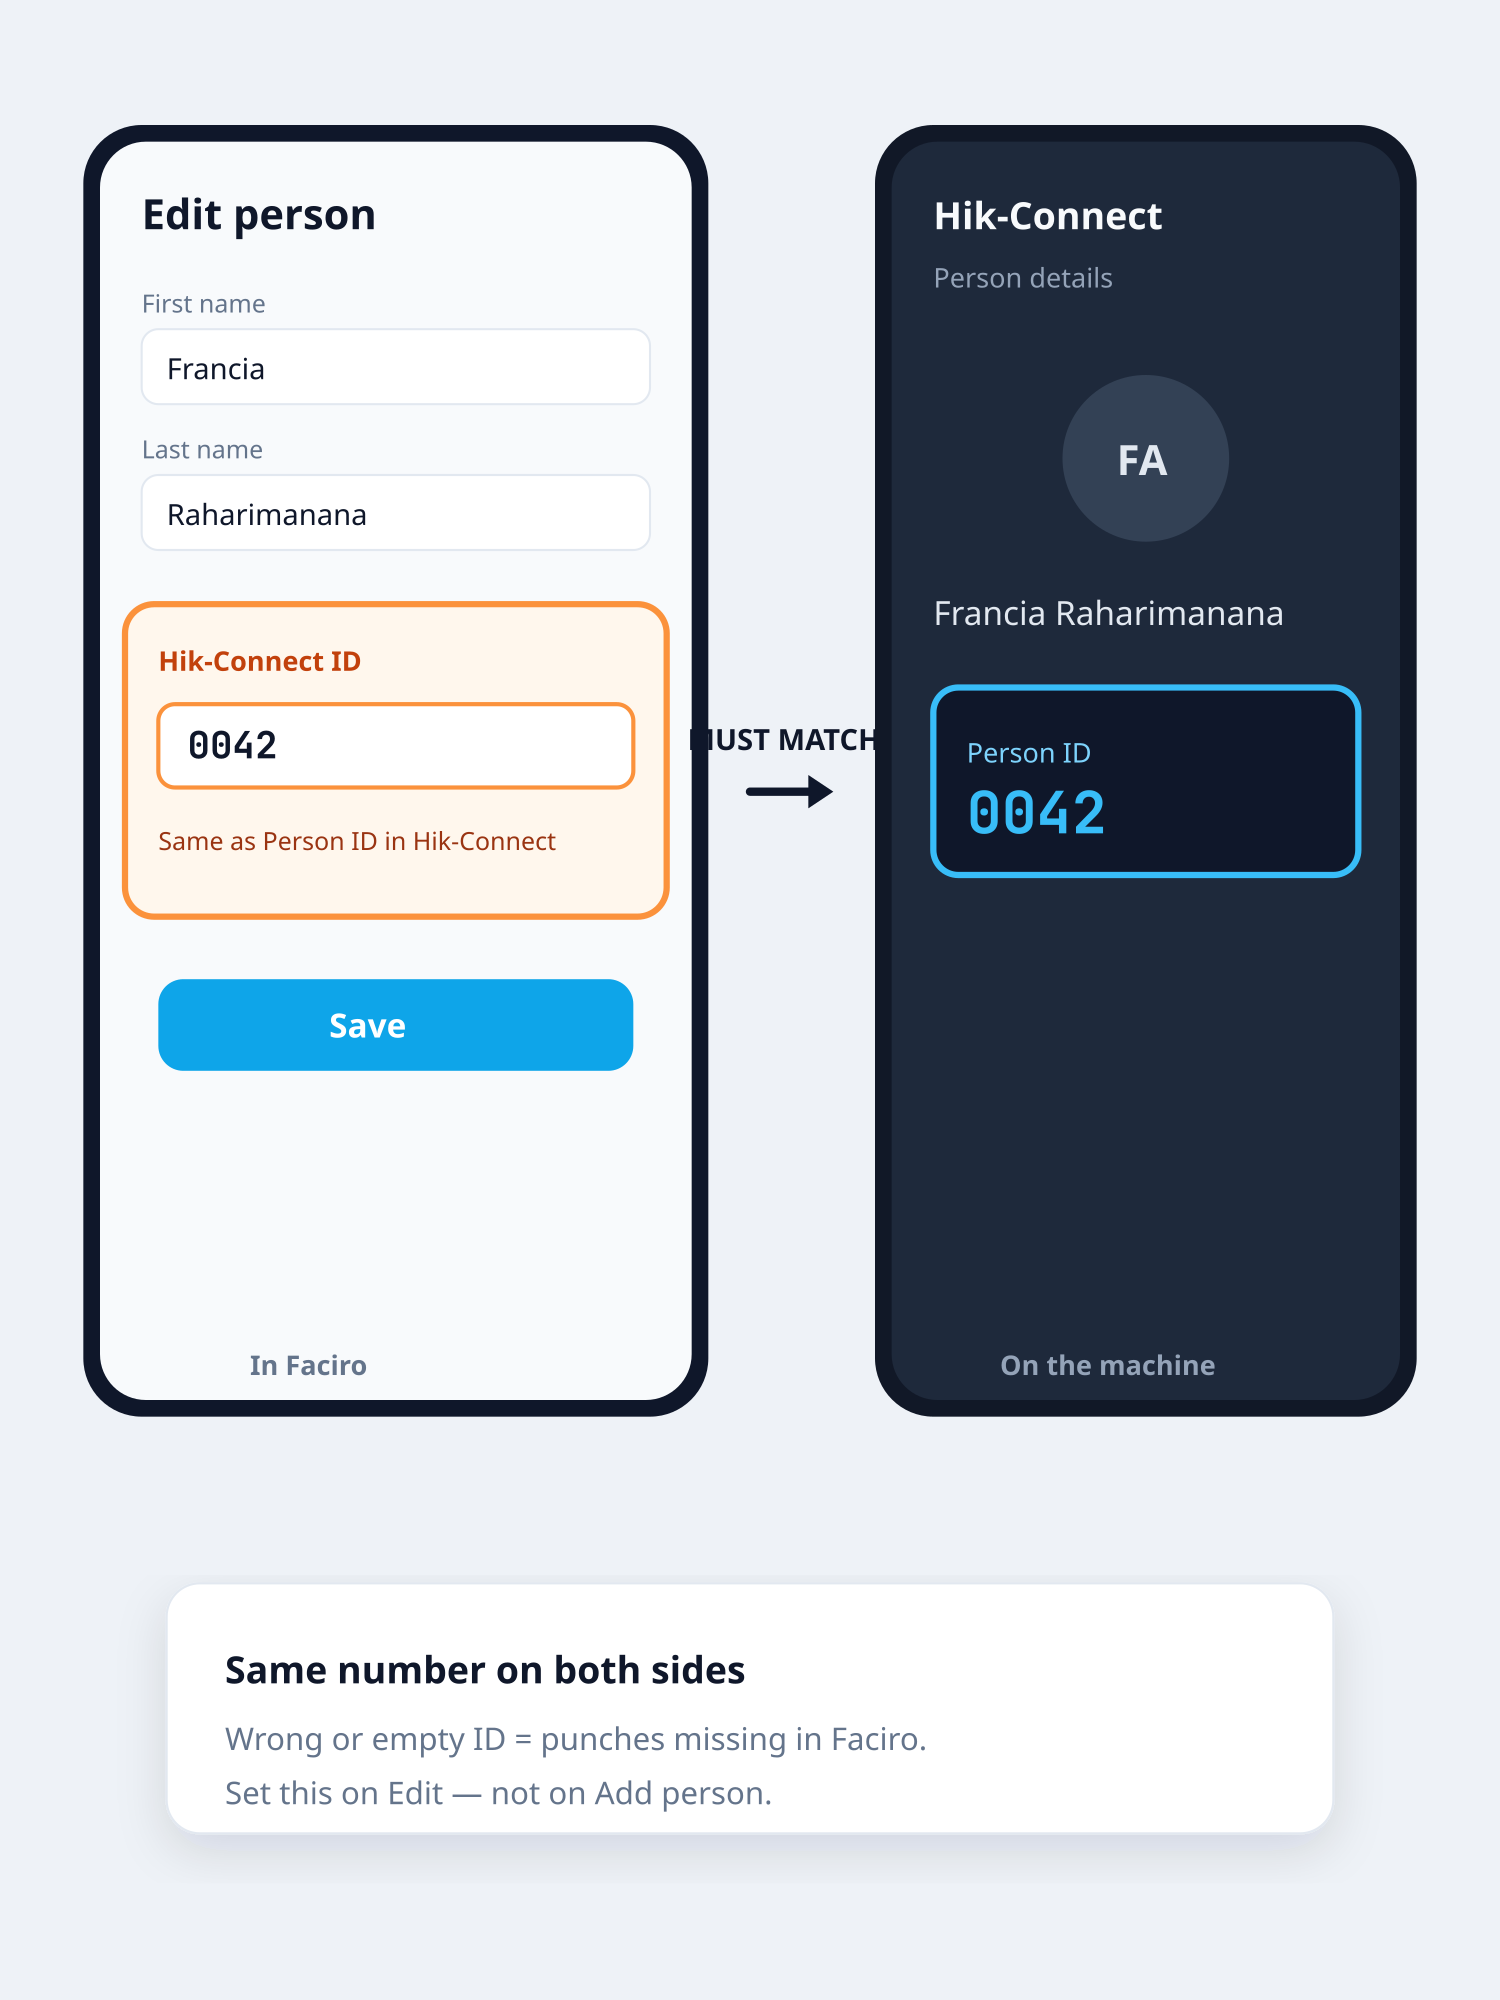
Hik-Connect ID must match the machine Person ID
Related guides